Shopify: Create New Product Automatically
How To Create New Product In Shopify Automatically


Are you looking for an easy and effective way to integrate Shopify with your Wyzebulb? If so, you have come to the right place! In this blog, we will discuss why Shopify integration is important, how to integrate Shopify with your Wyzebulb, and the benefits of doing so.
Integrating Shopify with your Wyzebulb is an essential step in creating a successful eCommerce system. Shopify is a powerful platform that allows you to create a professional and functional online store quickly and easily. With Shopify, you can quickly add products, manage inventory, accept payments, and even create marketing campaigns to promote your business.
Integrating Shopify with Wyzebulb can help you increase sales, improve customer service, and save time and money. By integrating Shopify with your existing systems, you can easily synchronize data between systems, automate processes, and access data from anywhere. This will allow you to easily manage orders and products from one platform.
The demo video for Shopify integration is given below.
You may now start building your automated process.
Step 1: Create a new flow.
If you have a Wyzebulb account, click on create flow button.
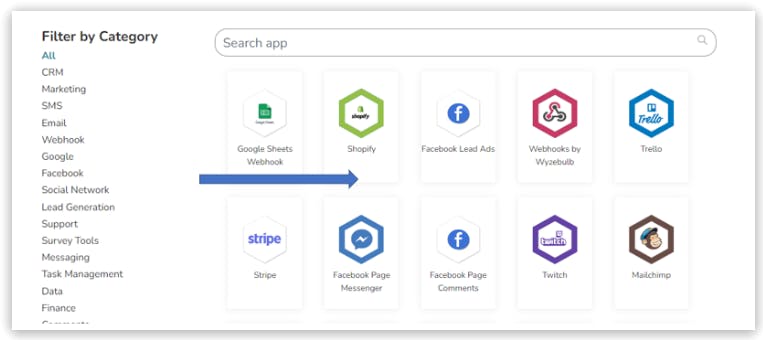
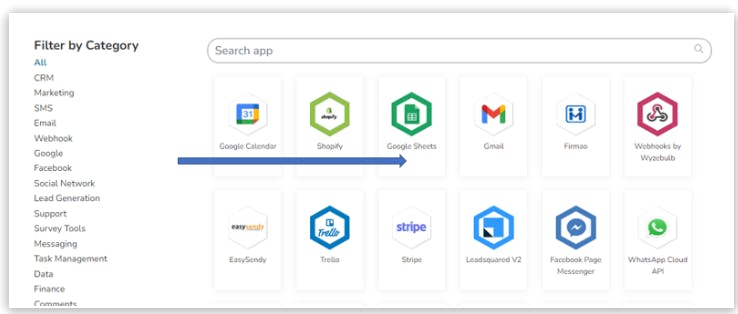
Step 2: Choose your trigger application.
Select your trigger application as Shopify.
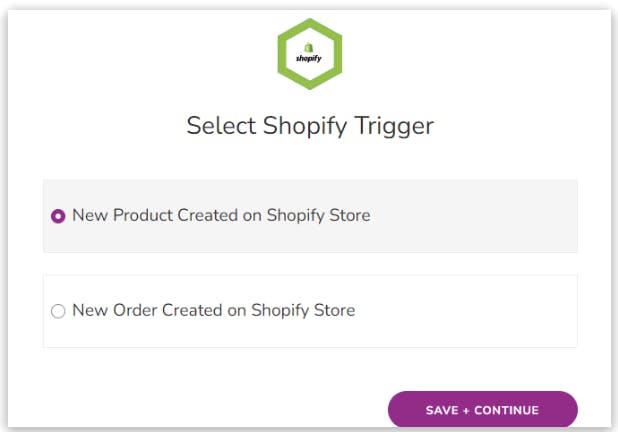
Step 3: Select your specific trigger event.
Select your trigger event as a new product created on the Shopify store.
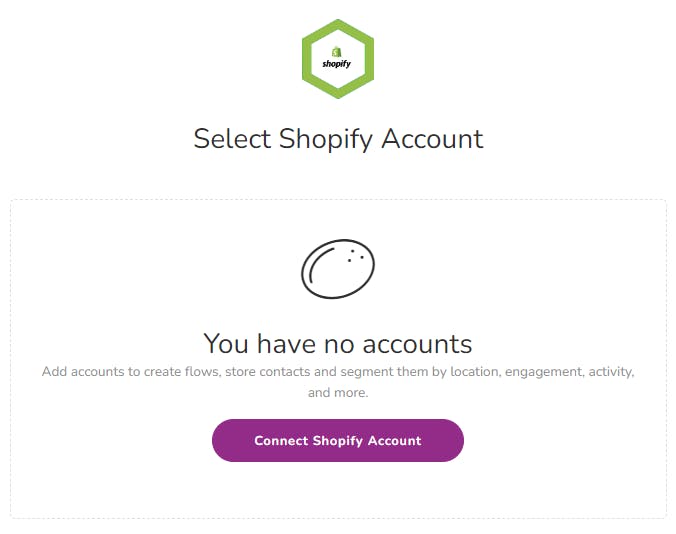
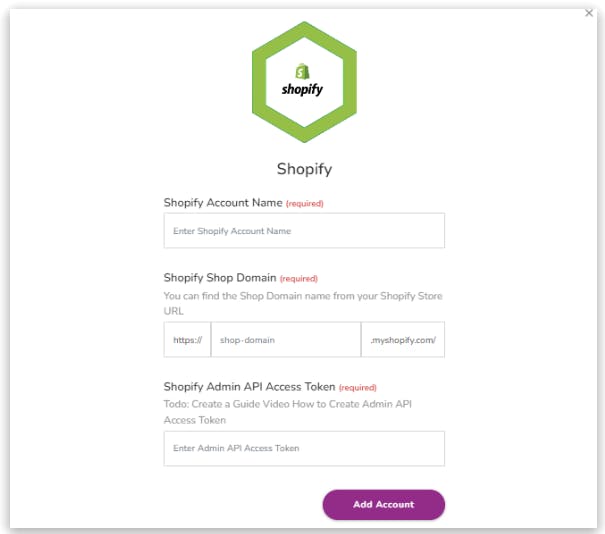
Step 4: Connect your Shopify account.
Fill in the required account details. Now your account will be connected to Wyzebulb.
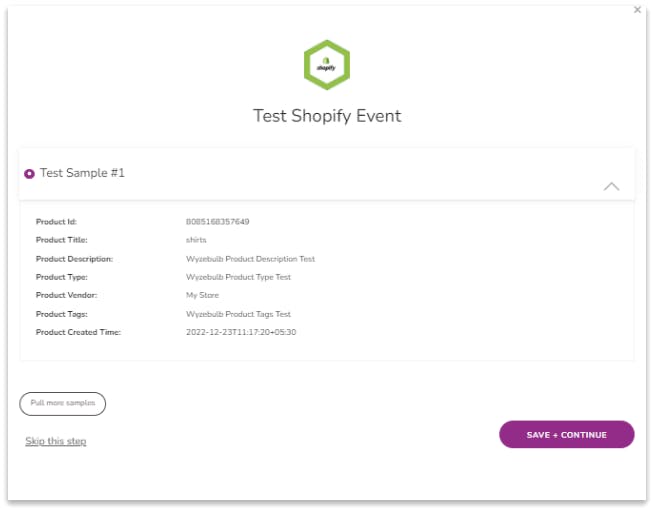
Step 5: Click on the test event.
In this stage, you will find the test samples. Select the sample then click on save and continue.
Step 6: Choose your action application.
Now you can choose an action application from the list. In this case, we'll be using Google Sheets.
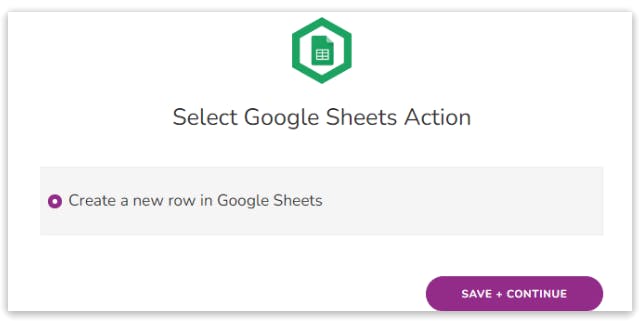
Step 7: Select your specific action event.
Select your action event. In this case, we’ll be using Create a new row in Google Sheets.
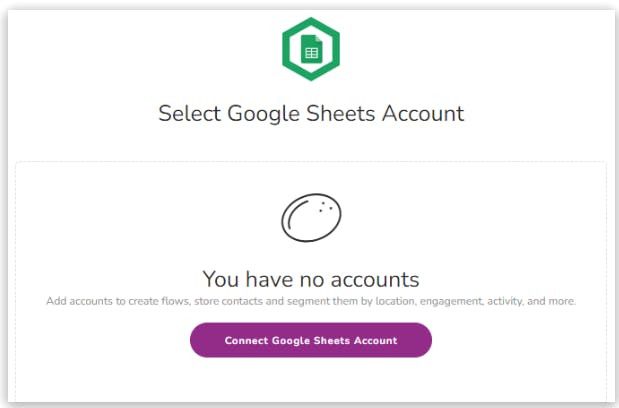
Step 8: Connect your Google account.
Choose the account you want to link. Now your linked account will be connected to Wyzebulb.
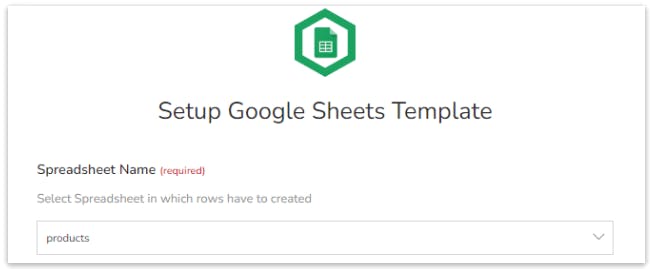
Step 9: Set up the action template.
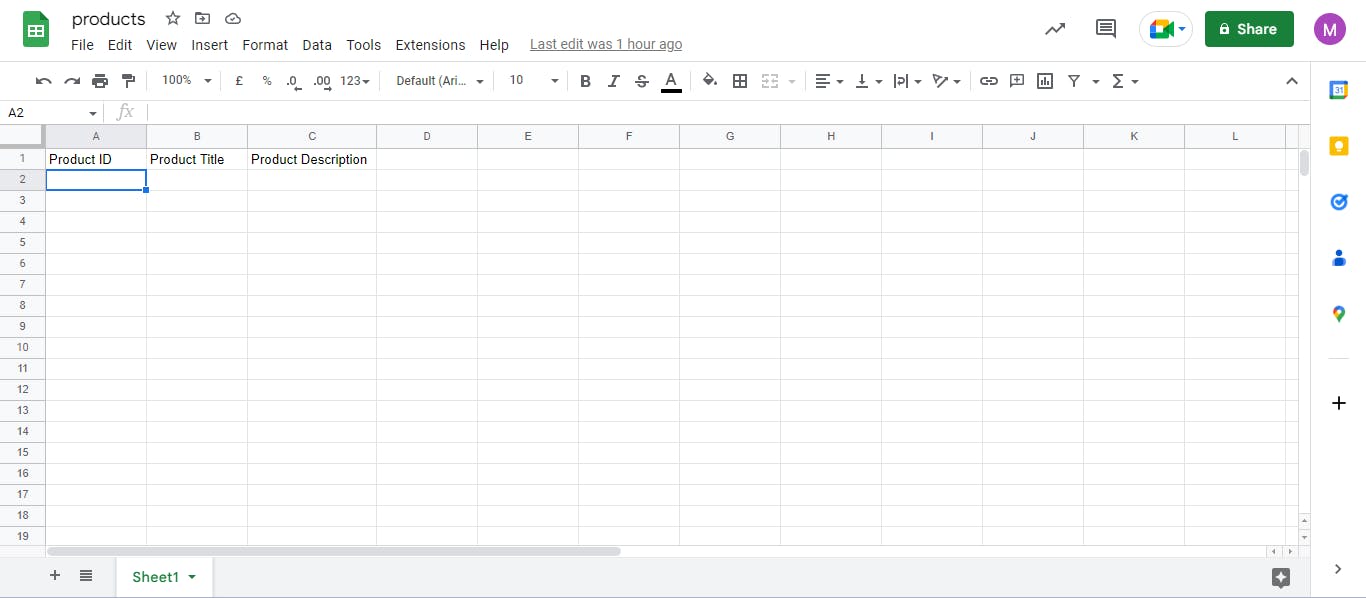
Before filling in the fields create the google sheets with the required data to be mapped from Shopify to Google Sheets.
Here you need to fill in all your required information. For this, you can choose or click on the '+' icon which is present in every field and map your trigger values.
select the spreadsheet name from the drop-down.
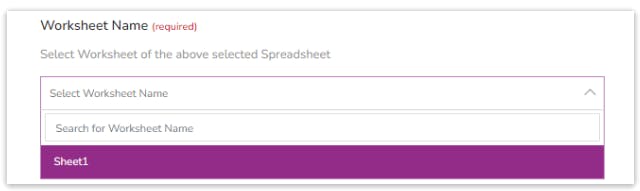
select the worksheet name from the drop-down.
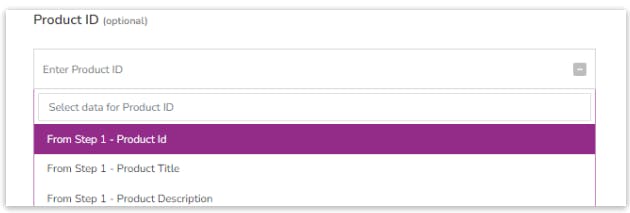
select the product id.
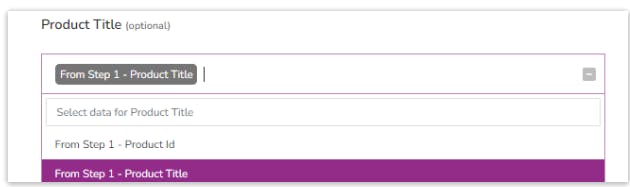
select the product title.
select the product description.
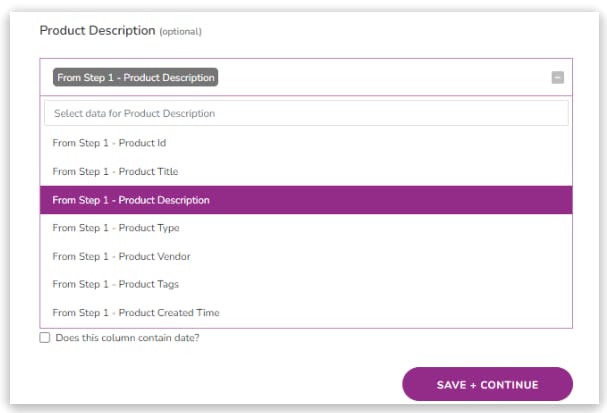
click on save and continue.
Step 10: Click on the test action.
In this stage, if all the steps are successful then this will prompt you with the success message. If not then if anything went wrong in other steps it shows an error message.

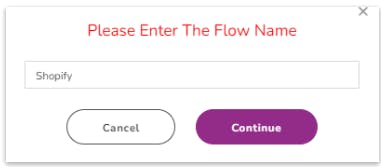
Step 11: Click on save flow.
Provide a convenient name to flow and save the flow.
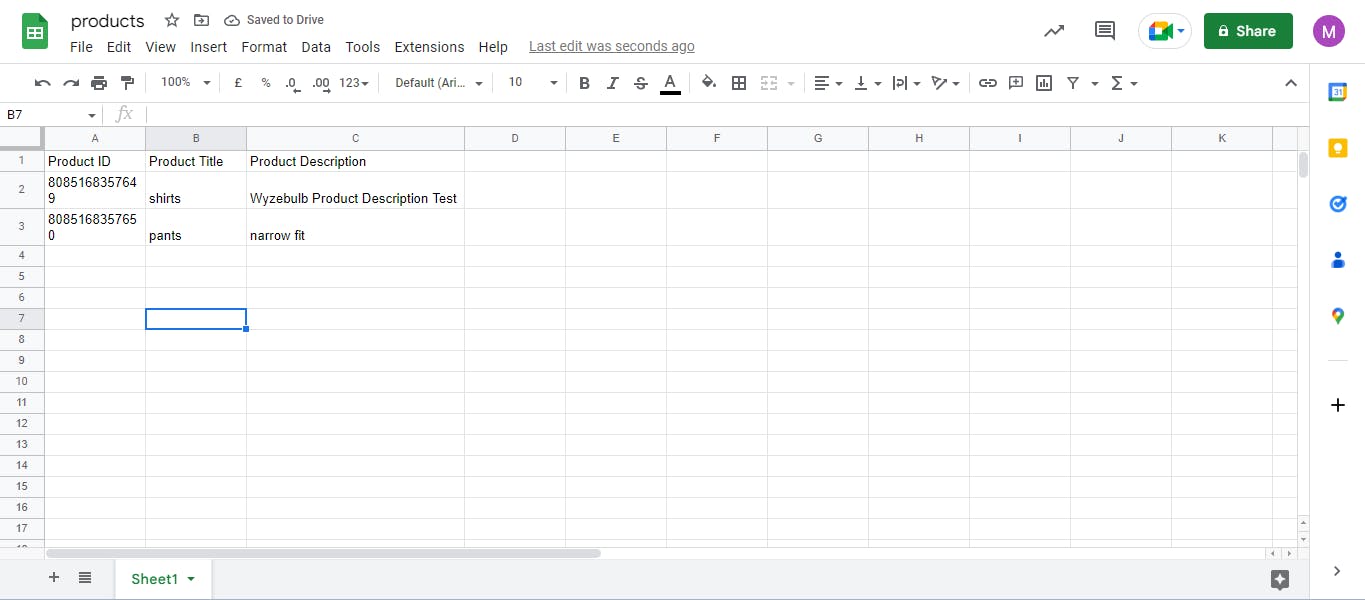
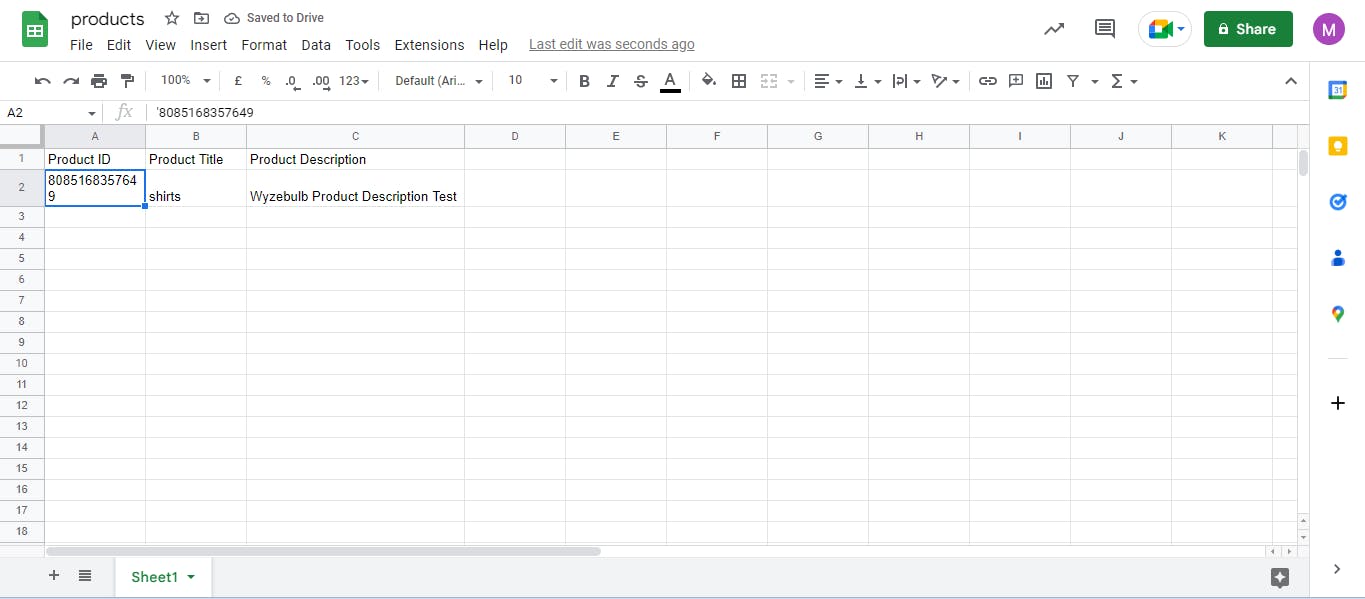
Now you can open your Google sheets and see the product items. This will continue the automated workflow as you add the new products to Shopify.
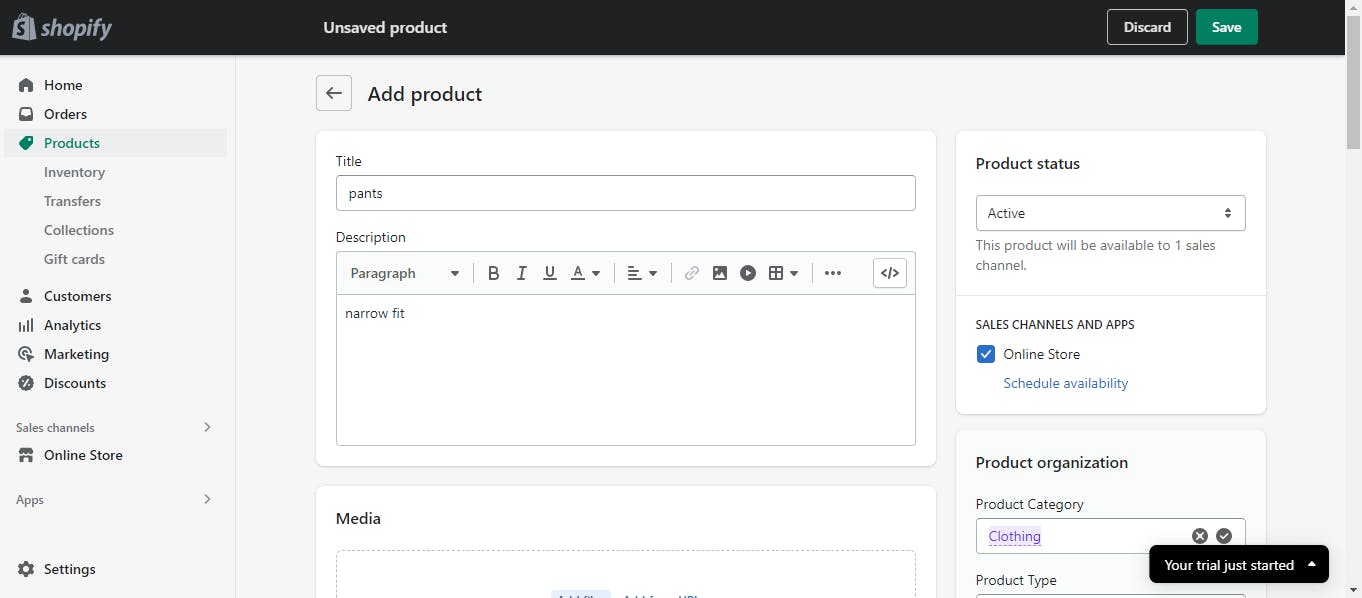
Now I will create products on Shopify.
You can now the data in google sheets.